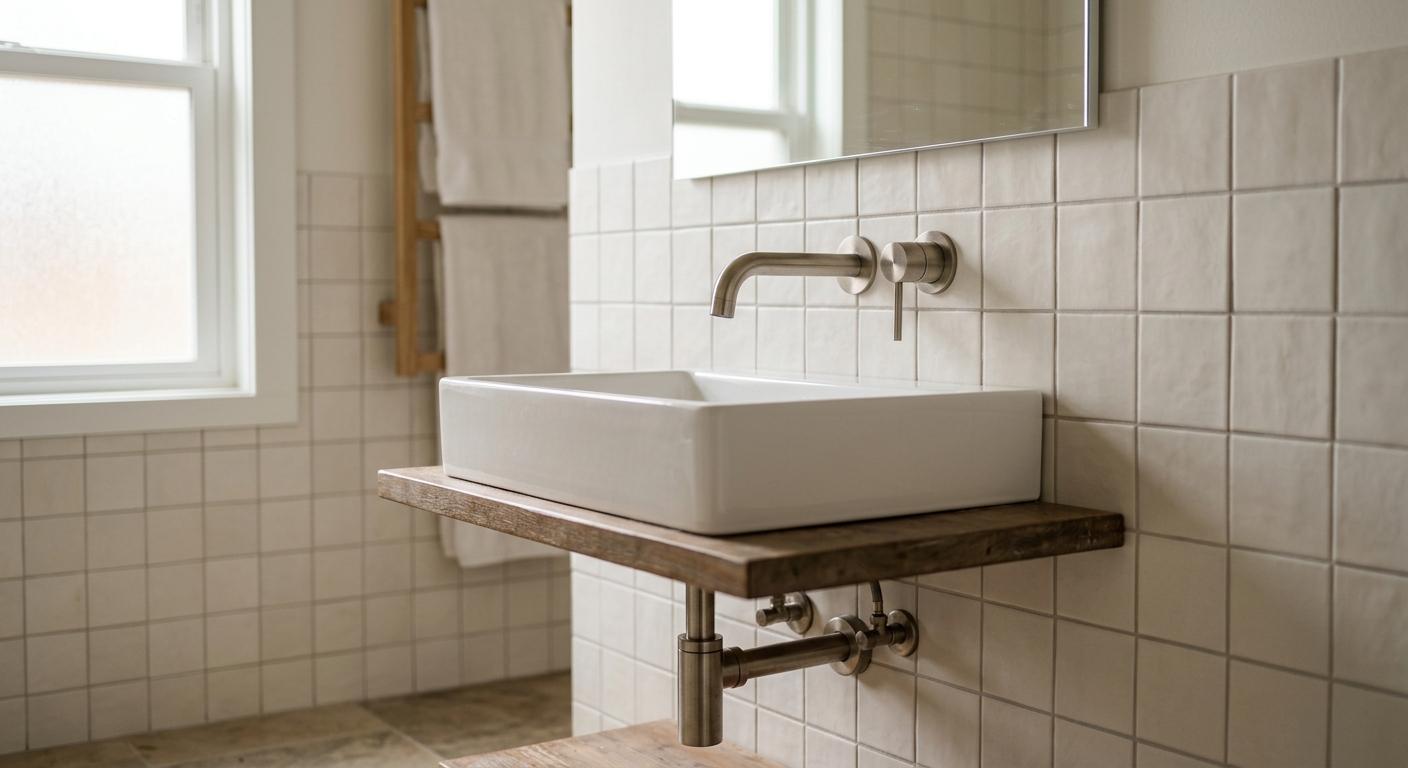





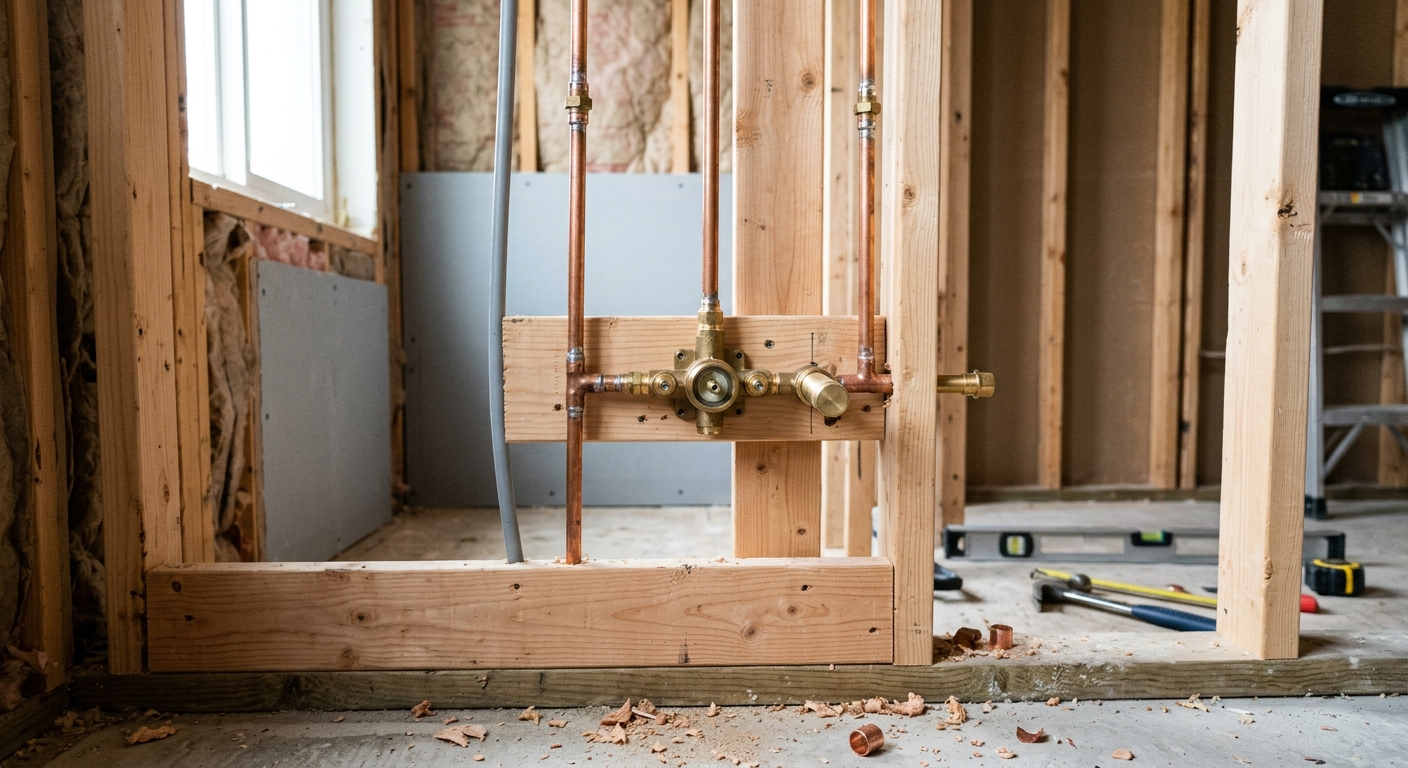
Set the valve centerline at 20 to 22 inches above finished floor, run 1/2 inch NPT or IPS connections back to the wall, and hold your hot and cold centers 8 inches apart if you’re installing a widespread wall-mount faucet. The part that trips people up isn’t the plumbing, it’s that you’re locking in these dimensions before you’ve necessarily settled on the vanity and basin that have to line up with them later. Get the spatial math wrong now and you’re either drilling new holes in tile or living with a spout that dribbles water an inch off-center.
Why vanity depth drives valve placement
A wall-mount faucet’s horizontal position isn’t arbitrary. It has to land at a spout reach that clears the vanity’s backsplash (if any) and centers water over the basin drain. That means the vanity’s depth, and the basin’s specific bowl placement within that vanity, both feed directly into where you rough in the valve.
The problem is timing. Framing and rough plumbing usually happen before the vanity is on site, sometimes before it’s even ordered. If you rough in assuming a 21-inch-deep vanity and the one that eventually shows up is 22 inches deep with a basin set 1 inch further back, your spout now falls short of the drain by an inch. On a wall-mount faucet, there’s no slide-forward fix like you’d have with a deck-mounted unit. The valve body is fixed in the wall.
The fix is sequencing: pin down the vanity and basin selection, or at minimum the vanity depth and basin bowl offset, before you finalize valve rough-in location. If the vanity is truly undecided, rough in based on the faucet manufacturer’s stated reach and hold the vanity depth to a range that keeps the drain within that reach, rather than the other way around.
Standard rough-in height above finished floor
Most wall-mount vanity faucets are roughed in with the valve centerline 20 to 22 inches above finished floor. This isn’t a code minimum, it’s a functional range that puts the spout at a comfortable working height above a basin rim that typically sits 32 to 36 inches above the floor once the vanity and countertop are in.
Where you land in that 20 to 22 inch window depends on:
- Vanity height: taller vanities (36 inches to counter, common in ADA-adjacent or furniture-style builds) push you toward 22 inches to keep spout clearance reasonable.
- Basin type: a vessel sink sitting on top of the counter adds 4 to 6 inches of height, which usually means raising the valve toward the top of the range or beyond it, per the faucet manufacturer’s spec sheet.
- Faucet spout length and drop angle, which varies by model and directly changes how much clearance you need between spout outlet and basin rim.
Always check the specific faucet’s installation template before finalizing. Manufacturers publish rough-in height recommendations calibrated to that model’s spout geometry, and those numbers can shift the standard range by an inch or two in either direction.
Calculating spout reach to basin center
Spout reach is the horizontal distance from the wall (finished surface, not stud face) to where the water lands. That distance has to match the horizontal distance from the wall to the basin’s drain center. Get this wrong and you’ll have water splashing off the back edge of the basin or landing short in the bowl’s rear third.
To calculate it:
- Confirm the vanity’s finished depth (cabinet face to wall, not including any backsplash).
- Find the basin’s drain center offset from the back edge of the countertop or vanity top, this number is in the basin’s spec sheet.
- Add those two figures together. That’s your target distance from finished wall to drain center.
- Compare that number to the faucet’s published spout reach. They should match within about 1/2 inch.
If the numbers don’t align, you have two levers: adjust the valve’s horizontal position in the wall before rough-in closes, or select a different faucet model with a spout reach that fits the vanity and basin you’ve chosen. Once tile is set, neither option is available without demo.
Setting valve body and plaster guard depth
Wall-mount valves need to sit at a specific depth behind the finished wall surface, and that depth depends on how thick your finished wall assembly will be once tile, backer board, and thinset are accounted for. This is where plaster guards do their job. A plaster guard is a removable cover that protects the valve body during rough-in and gives you an adjustment range to compensate for wall finish thickness that isn’t finalized yet.
Typical plaster guard adjustment range runs from about 1/2 inch to 1-1/2 inches, though this varies by manufacturer and valve series. That range needs to accommodate:
| Wall finish | Approximate added thickness |
|---|---|
| Cement board + tile | 1/2 to 3/4 inch |
| Drywall + tile | 3/4 to 1 inch |
| Drywall + tile + mortar bed (for larger format tile) | 1 to 1-1/4 inch |
Set the valve body deep enough in the wall that it accommodates the thickest finish you might realistically install, then let the plaster guard take up the slack once you know the actual assembly. Guessing shallow is the more common mistake, since it leaves no room to add tile thickness later without extending the valve stem or re-setting the body.
This is also the point in the project where hole configuration matters if you haven’t finalized your basin and faucet pairing. Some vanity faucets are sold as widespread sets with independent hot, cold, and spout bodies, which is what requires that 8 inch centerline spacing between valves. Others are single-body wall-mount units where spacing is fixed by the faucet itself and there’s no widespread centerline to plan around. Knowing which configuration you’re installing changes how many rough-in points you’re setting and how much horizontal tolerance you have.
Trimming out after tile and vanity install
Rough-in and trim-out are separate stages with time, and often trades, between them. Rough-in happens during framing and plumbing, before tile. Trim-out happens after tile is set, grout has cured, and the vanity is physically in place. Don’t treat them as one continuous task, because the vanity and finished basin position are what confirm whether your rough-in guess was correct.
At trim-out:
- Remove the plaster guard and confirm the valve stem or nipple extends to the correct depth for the trim kit you’re installing.
- Dry-fit the trim before applying any sealant, checking that spout centerline lines up with the basin drain and that handle escutcheons sit flush against tile.
- Check that the 8 inch centerline spacing (if widespread) still reads correctly relative to the actual basin width, since basin selection sometimes changes between rough-in and trim-out on longer renovation timelines.
If something is off by more than about 1/4 inch, it’s worth pausing before you commit trim hardware. A slight visual offset is sometimes acceptable, but a spout that clearly doesn’t center over the basin drain will look wrong in a way no amount of careful trim work fixes.
Before you close up rough plumbing, confirm three things in writing or on your rough-in drawing: valve centerline height, horizontal spout-to-drain distance, and plaster guard depth relative to your planned wall assembly. If any of those three depend on a vanity or basin you haven’t purchased yet, get that purchase decision made first, even if it means delaying the rough-in by a few days. That delay is cheaper than opening tile to move a valve.