

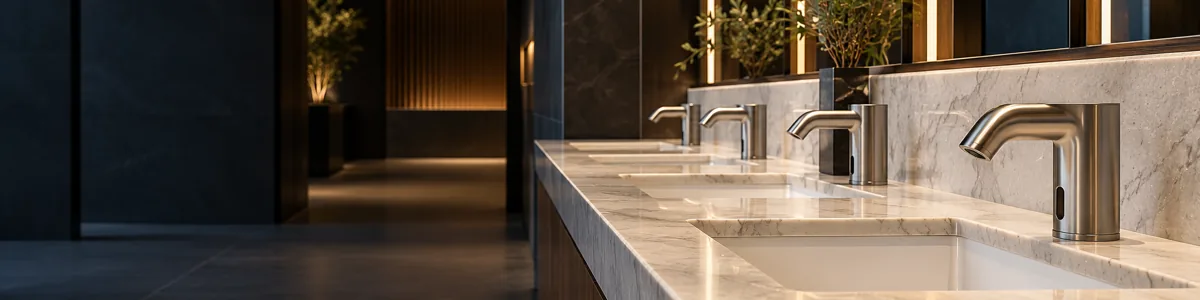


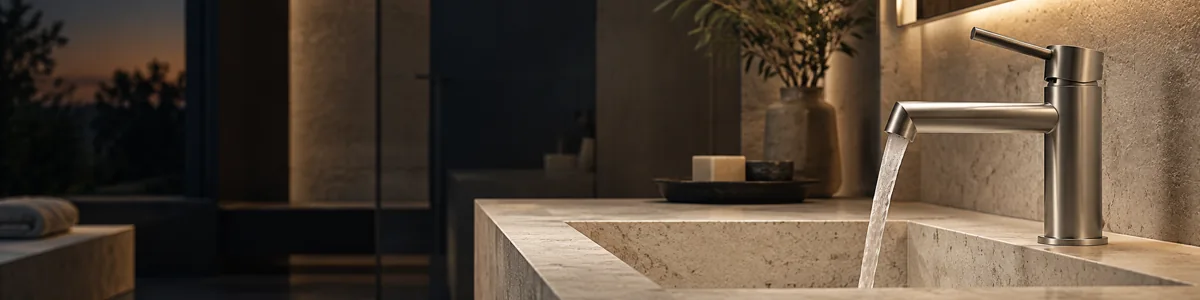

Polished chrome and nickel reflect whatever light hits them at the angle it hits them, so a faucet that looks crisp at 2pm with sun through a window can look flat and smeared under a single flush-mount ceiling fixture at night. Get the light source position wrong and you’ll see either a blown-out hotspot on the faucet body or no highlight at all, which reads as dull even on good hardware. The fix is mostly geometry: sconce height, distance from the mirror, and beam spread relative to where the faucet and handles sit on the counter.
Why polished finishes show light position, not just color
Brushed and matte finishes scatter light in many directions, so they look consistent from almost any fixture placement. Polished chrome and nickel act closer to a mirror: they throw back a sharp, narrow reflection of whatever’s in front of them. If that’s a bare bulb, you get a glaring white streak. If it’s a diffused linear source at the right height, you get a clean highlight line that reads as quality metal. This is also why the same faucet can look premium in one bathroom and cheap in another, the metal hasn’t changed, the light source has.
Sconce height and spacing from the faucet centerline
For vertical or paired wall sconces flanking the mirror, set the centerline of each fixture at 60 to 65 inches above finished floor. That height puts the light source roughly level with a standing adult’s face, which cross-lights the faucet and handles from above the counter rather than straight down onto them. Straight-down light from a ceiling can fixture tends to carve harsh shadows under the spout and lever, which on polished metal shows up as a dark band instead of a highlight.
If you’re running double sconces, keep a minimum of 28 to 36 inches between them, measured center to center. Closer than that and the two beams overlap directly above the faucet, creating a single oversaturated hotspot instead of two softer highlights that model the fixture’s shape. Wider than about 40 inches on a standard 30 to 36 inch vanity mirror usually pushes the light too far to the sides to do much for the faucet at all.
Avoiding glare bounce off chrome and mirrors
Bare bulbs or clear-glass sconces aimed directly at a mirror will bounce straight back at whoever’s standing at the sink, and that same bounce hits the faucet from an unflattering head-on angle. Look for fixtures with a frosted, etched, or opal diffuser rather than clear glass or an exposed filament. The diffusion softens the beam edge so the faucet picks up a graduated highlight instead of a pinpoint glare spot. This matters more for faucets in warm finish faucets like polished gold or brushed brass too, since warm metals show harsh glare just as readily as chrome, it just reads as a yellow-white blowout instead of a cool one.
Color rendering matters here as much as placement. Specify 90+ CRI for vanity fixtures. Anything lower tends to flatten the subtle tonal variation in polished metal, chrome especially, so the faucet looks like a gray plastic silhouette rather than a dimensional object with depth and shine.
Overhead vs side lighting for fixture shadows
A single recessed can centered over the sink is the most common reason faucets look dull in finished bathrooms. Overhead-only light casts a shadow directly under the spout and along the underside of the handle, which is exactly where you want a highlight, not a shadow. Side lighting from properly placed sconces fills that shadow and lets the top surfaces of the faucet catch the beam instead.
If you’re keeping a ceiling fixture as the primary room light, treat it as ambient fill and let the sconces do the work on the fixture itself. Ceiling-only layouts almost always need a dimmer so you can pull that overhead source down and let the side light dominate when someone’s actually using the sink.
Dimmer and sensor options for wet zones
Any fixture inside the shower enclosure, including a light over a shower niche or recessed can directly above the shower pan, needs an IP44 wet-location rating at minimum per NEC 410.10. This isn’t a finish preference, it’s code, and it’s checked at inspection. Vanity sconces outside the splash zone don’t need a wet rating, but anything within direct spray distance does.
Dimmers are worth the extra rough-in cost on vanity circuits specifically because of the glare issue. A sconce bright enough to properly highlight chrome in the evening can be uncomfortable at full output during a morning routine. A dimmer lets you drop output without changing the fixture or its angle, which keeps the highlight pattern on the faucet consistent, just less intense.
Occupancy or vacancy sensors are a reasonable add for secondary bathrooms but skip them on the primary vanity circuit if you can. The flicker-to-full-brightness delay on some sensors is irritating at a mirror where you’re shaving or doing makeup, and most sensor-rated bulbs have a narrower CRI range than you’ll want for fixture work.
Quick placement checklist
- Sconce centerline: 60 to 65 inches above finished floor
- Double sconce spacing: 28 to 36 inches apart, center to center
- Diffuser: frosted or opal glass, not clear or exposed bulb
- CRI: 90 or higher for all vanity-adjacent fixtures
- Shower zone fixtures: IP44 rated minimum per NEC 410.10
- Vanity circuit: dimmer recommended, sensor optional on secondary baths only
Locking in placement before drywall patch
Once the electrician has roughed in boxes and the drywall is patched, moving a sconce means cutting into finished wall again, so this is the stage to confirm placement with tape and a step ladder, not guesswork from a plan. Hold a cardboard template or the actual fixture (if you have it on hand) at 60 to 65 inches and stand at the sink as if you’re using the faucet. Check whether the reflection off the spout and handle looks like a highlight or a hotspot from that position.
If you’re working with a design-build contractor, ask them to mock up the sconce height with a clamp light before the electrician sets the boxes. It’s a ten-minute check that avoids a change order later. If your faucet is already installed and you’re only now addressing lighting, bring a photo of it under your current light source to the lighting showroom or your electrician so you can compare beam angle and diffuser options before you buy. For anything involving the shower zone wiring, confirm wet-rating compliance with your electrician or inspector rather than relying on fixture packaging alone, ratings and installation clearance requirements can vary by jurisdiction.