





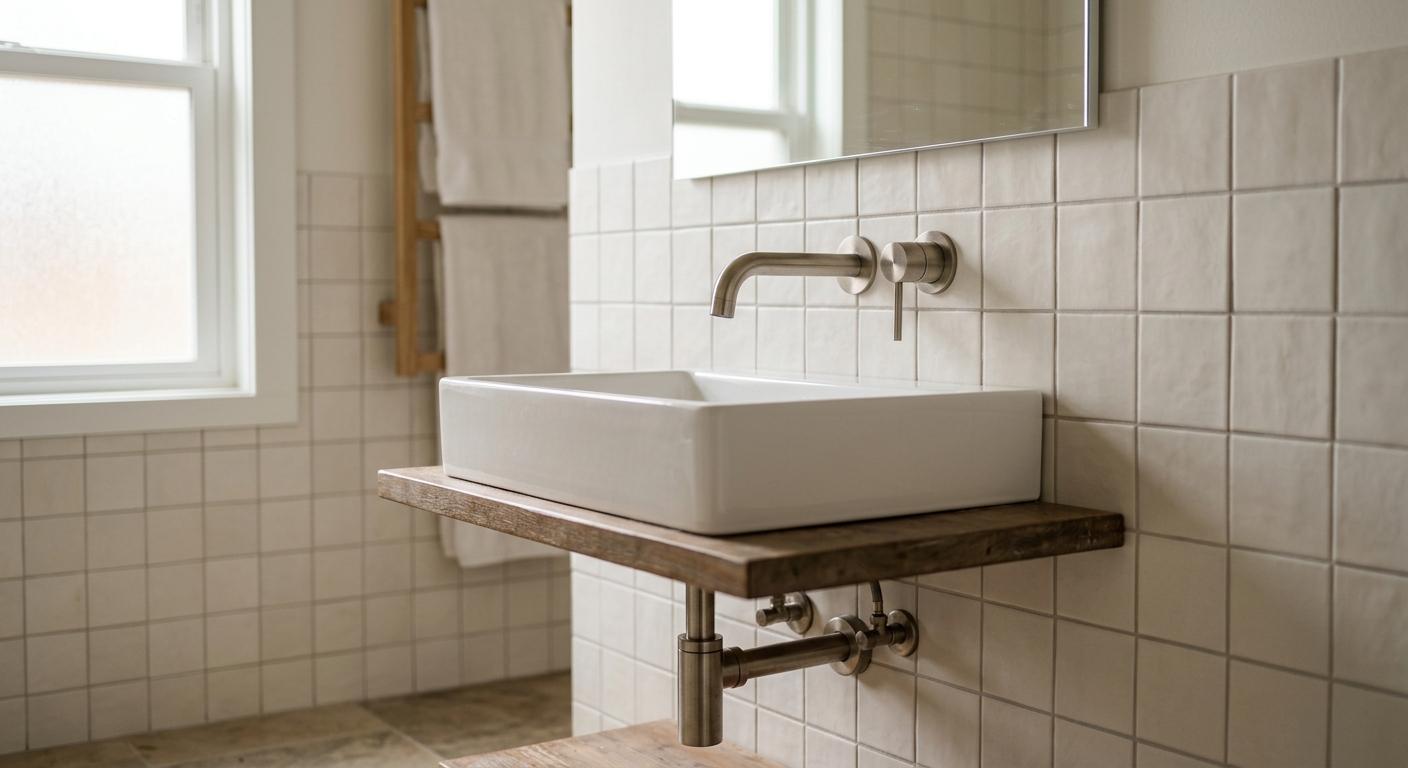
Bring the actual tile sample and a finish swatch into your bathroom and look at them under the bulbs that will be installed, at the time of day you actually use the room. If you’re choosing a faucet finish from a showroom display or a phone photo, you’re matching to light that has nothing to do with your space. The only reliable test happens on site, after tile is set and before you’ve committed to a fixture order.
Why Showroom Lighting Lies to You
Showrooms use high-CRI lighting, often north of 95, specifically so every finish on the wall looks rich and true. Your bathroom almost certainly doesn’t have that. If your vanity lighting has a CRI below 90, metals shift color: brushed nickel can read dull gray or faintly green, warm brass can look muddy or orange instead of soft gold. Check the CRI rating on the bulb packaging or spec sheet before you blame the fixture.
This matters because the faucet gets bought after tile is installed but before electrical trim-out, which means you’re making a finish decision in a room that’s half-finished and often still lit by a construction bulb or a bare temporary fixture. That light is not representative of anything. If you’re not ready to install permanent vanity lighting yet, at minimum screw in the actual bulb model you plan to use, even temporarily, before you order fixtures.
Reading Your Tile’s Undertone First
Every tile, even a tile sold as “pure white,” has an undertone, and that undertone will fight or flatter your fixture finish. Look at your tile in natural daylight, not under artificial light, and check whether it leans blue-gray (cool), beige-pink (warm), or true neutral. Porcelain and marble-look tile frequently has a cool undertone even when the name on the box says “warm white,” so trust your eye over the label.
Grout matters just as much as the tile field, and it’s the detail most people skip. A grout with a low LRV (light reflectance value), meaning a dark charcoal or black grout, absorbs light and makes nearby metal read cooler and dimmer by comparison. A high-LRV white or light gray grout bounces more light back onto the fixture, which makes warm metals like brass or bronze look more golden and saturated. If you’ve already got your grout samples, hold them next to your faucet swatch in the same light you tested the tile under.
Matching Finish Sheen to Bulb Kelvin
Kelvin temperature changes how a metal finish presents, independent of its actual color. A 2700K bulb, the warm light most residential fixtures ship with, pushes every finish toward amber and gold. Under 2700K, chrome looks slightly warm instead of stark, and brass looks richer and more saturated than it will under cooler light. A 4000K bulb, common in newer LED vanity strips and more clinical in feel, pulls finishes cooler. Under 4000K, chrome reads crisp and clean, nickel looks silvery and neutral, and brass can look slightly washed out or less gold than you expected.
- 2700K (warm): flatters brass, bronze, and brushed gold; can make chrome look slightly dull
- 3000K (warm-neutral): a middle ground that works reasonably well across most finishes, which is why many bathroom vanity lights default here
- 4000K (cool): flatters chrome, polished nickel, and matte black; can mute the warmth of brass or bronze
If you already know your bulb Kelvin, work backward to the finish rather than forward from a photo. Buying a bulb to match a finish decision you’ve already made is backward; buying a finish to match the light you’ve already installed is the right order of operations.
Chrome, Nickel, or Bronze: A Reflectivity Test
Sheen changes how forgiving a finish is to light variation, and it’s worth testing separately from color. A polished finish, whether chrome or polished nickel, acts almost like a mirror and will reflect whatever is around it, including the color of your walls and the cast of your bulbs. That means a polished faucet can look slightly blue in a cool-lit room and slightly amber in a warm-lit one, even though the underlying metal hasn’t changed. A brushed or satin finish scatters light instead of reflecting it directly, so it holds its color more consistently across different lighting conditions, which makes it a safer choice if you’re not fully settled on your final bulb Kelvin yet.
Living or aged finishes, like an unlacquered or antique brass, behave differently again. These finishes are meant to oxidize and shift in tone over time, and they tend to read warmer and more textured under low-CRI or amber light, which can either work with a traditional tile palette or look murky depending on your grout and wall color. If you’re drawn to that look, test a sample of antique brass faucets against your actual tile and grout before ordering, since the patina effect is exactly the kind of finish that shifts most under bad lighting.
| Finish | Sheen behavior | Best paired bulb range |
|---|---|---|
| Polished chrome | Highly reflective, mirrors surroundings | 3500K to 4000K |
| Brushed nickel | Diffuse, consistent across light shifts | 3000K to 4000K |
| Polished brass/gold | Reflective, saturates under warm light | 2700K to 3000K |
| Unlacquered/antique brass | Matte, develops patina over time | 2700K |
| Oil-rubbed bronze | Low reflectivity, absorbs light | 2700K to 3000K |
Locking In Finish Before Trim-Out
Once electrical trim-out happens, your bulb Kelvin and fixture layout are effectively fixed, and swapping a faucet finish after the fact means living with a mismatch or doing a second round of plumbing work. The window to test finish against tile and light is narrow but real: tile is set, vanity lighting is roughed in but not yet trimmed, and you can still change the bulb spec if the finish you want calls for it. Use that window deliberately rather than defaulting to whatever finish happened to be on the showroom display.
Before you place the fixture order, do a short on-site check. Bring your tile sample, your grout sample, and two or three finish swatches into the actual bathroom. Test them under the bulb Kelvin you intend to install, not a temporary work light, and check the CRI rating on that bulb; anything below 90 will distort the comparison enough to matter. Look at the pairing in both daytime light with the door open and at night with only the vanity fixture on, since most bathrooms get used in both conditions. If the finish still looks right in both, you’re clear to order. If it shifts dramatically between the two, reconsider either the bulb Kelvin or the finish sheen before you commit, since that’s the cheaper fix at this stage of the project.