

Rain Shower Heads on Existing Arms: What Fits, What Doesn’t

Rain Shower Heads on Existing Arms: What Fits, What Doesn’t

Discover the FontinBath Blog


Welcome to the FontinBath Blog, your ultimate guide to luxury, style, and functionality. Explore expert tips, design trends, and inspiration to elevate your bathroom into a space that’s both beautiful and practical.
From sleek modern designs to timeless classic elegance, our posts cover the latest bathroom trends, innovative fixtures, and smart solutions for every style. Learn how to choose the perfect faucets, lighting, and accessories while maximizing comfort and efficiency.
Whether you’re remodeling or refreshing your bathroom, our blog offers expert guidance and real-life ideas to help you create a sanctuary that reflects your taste. Stay updated with FontinBath for inspiring ideas, product highlights, and practical tips that make every bathroom exceptional.
Transform your bathroom — experience innovation and elegance with FontinBath.

Rain Shower Installation Guide

Can You Put a Rain Shower Head on an Existing Arm?

Yes, in many cases a rain shower head can be installed on an existing shower arm without opening the wall. The connection is usually straightforward, but the real issue is geometry. Rain heads are wider than standard shower heads and direct water more vertically, so the existing arm must project far enough from the wall and position the spray face high enough for comfortable use.

If the existing shower arm is secure, uses a compatible threaded connection and gives the new rain head enough wall and height clearance, a direct replacement may be possible. If the position is wrong, an extension arm, adjustable arm or swivel adapter can often correct the geometry without changing the concealed plumbing.

Direct Fit Check

Rain Shower Head on an Existing Arm: What to Check First

Before removing the original head, check the connection, arm reach, available height and rain-head diameter. A rain head can thread onto the arm correctly and still perform poorly if the spray face ends up too close to the finished wall or too low above the user.

Thread Compatibility Confirm that the new shower head is designed for the connection provided by the existing shower arm.
Arm Reach Measure how far the existing arm projects from the wall before selecting a wide rain head.
Head Diameter Larger rain heads require more wall, ceiling and enclosure clearance than compact conventional shower heads.
Installed Height Confirm that the finished rain-head face remains comfortably above the tallest expected user.
Arm Stability Large brass or stainless-steel rain heads can apply more weight and leverage to the wall connection.
Flow + Pressure Verify the rated flow and operating requirements rather than choosing a rain head by diameter alone.
Rain shower head installed on adjustable existing wall shower arm
Wall-mounted rain head on an adjustable extension arm showing the added reach needed to move the spray away from the wall.
Adjustable rain shower arm with standard wall connection
Adjustable shower-arm geometry allows changes in both projection and height without relocating the concealed supply.
Connection

Check the Existing Shower Arm Thread

Many residential shower arms in the United States use a nominal 1/2-inch threaded connection, but the exact fixture and installation should still be verified before purchase. Specialty fixtures, imported systems and older installations can differ.

Remove the existing shower head and inspect the exposed threads. They should be clean, undamaged and firmly supported. The replacement head should engage smoothly by hand. If the connection binds immediately, crosses the threads or feels unusually loose, stop rather than forcing it with a wrench.

Also check whether the arm moves at the wall. A loose arm can indicate movement at the concealed drop-ear fitting or threaded connection. Adding a heavier head or longer extension can increase leverage on that joint.

Shower Geometry

Why Rain Shower Heads Need More Clearance

Conventional shower heads often throw water outward and down. Rain heads are broader and are normally intended to deliver water more vertically. That changes how the head needs to sit relative to the wall, user, ceiling and shower enclosure.

Wall Clearance Keep the outer edge of the head clear of the finished wall and tile.
User Position Position the main rainfall zone over the normal standing area.
Glass Clearance Check fixed glass, doors and hinges before extending the head outward.
Ceiling Clearance Raising the arm may improve comfort but can be limited by ceiling height.
Spray Face Level Level the shower face so the nozzles distribute water evenly.
Wet Zone Keep the rainfall footprint inside the intended shower drainage area.
Retrofit Options

Extension Arms, Adjustable Arms & Swivel Adapters

If the existing outlet is secure but the new rain head sits in the wrong position, exposed retrofit hardware can often correct the problem without opening the wall.

Extension Arm Adds horizontal projection so the rain head sits farther from the wall.
Adjustable Arm Changes both height and reach while retaining the existing wall outlet.
Swivel Adapter Corrects the angle of the head where projection is already acceptable.

When comparing head sizes and mounting types, a current shower head collection can help you compare face diameter, arm type and mounting configuration before ordering.
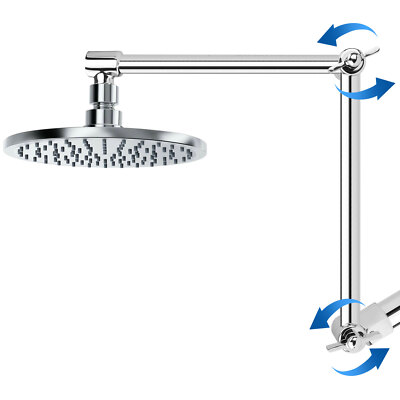
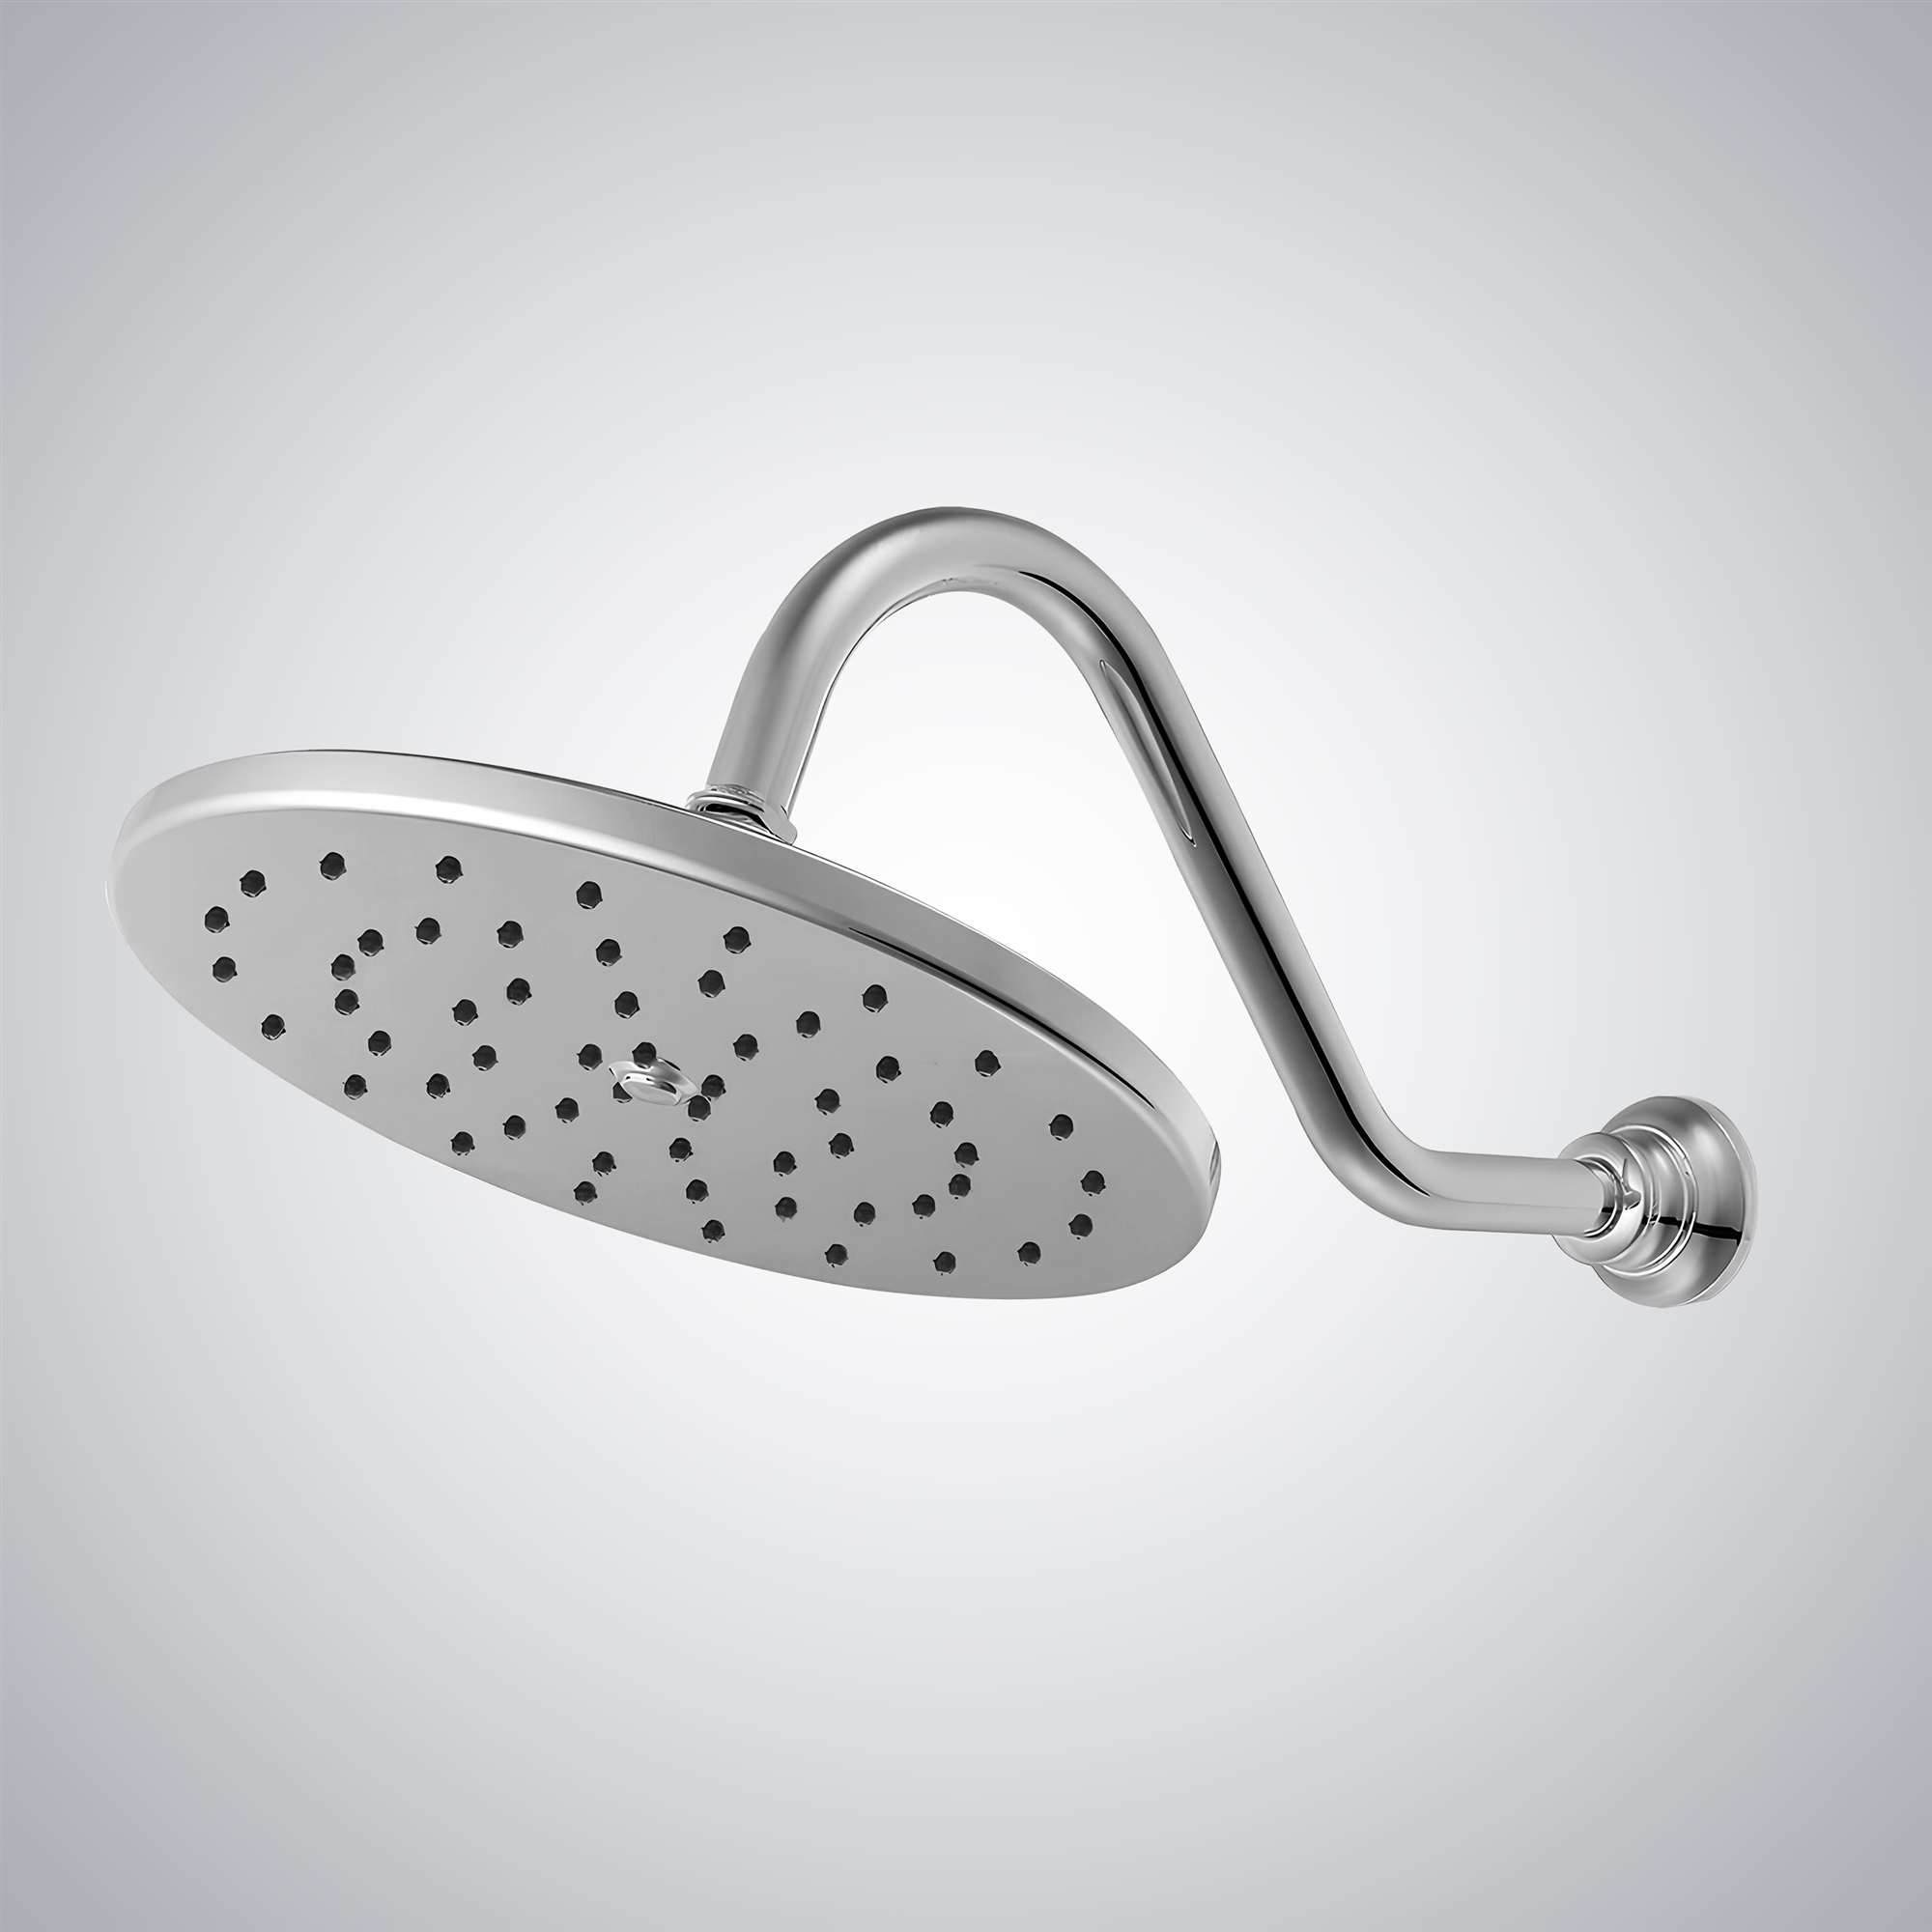
Adjustable extension arm for rainfall shower head
Long extension arms can reposition a rainfall head farther into the shower while using the existing wall outlet.
Adjustable height and angle rain shower head arm
Articulating joints provide both height and angle adjustment when the concealed outlet itself does not need relocation.
Rain shower head swivel ball joint connector
A swivel joint can level or redirect the rain head when the arm reach is already suitable.
Structural Check

Large Rain Heads Put More Load on the Shower Arm

Wider rain heads can weigh considerably more than compact shower heads, especially when made from brass or stainless steel. A long extension also increases leverage at the wall connection.

Confirm the existing shower arm does not rotate or wobble.
Check for movement around the escutcheon.
Avoid long extensions on an unstable wall connection.
Follow manufacturer support guidance for oversized heads.
Stop if tightening causes movement behind the wall.
Repair loose concealed fittings before adding more load.
Water Efficiency

Verify the Rain Shower Head Flow Rate

A wider spray face does not automatically mean greater water use. Flow is determined by the rated showerhead, while nozzle pattern and face size determine how that water is distributed.

Federal Maximum U.S. federal showerhead requirements generally limit maximum flow to 2.5 gallons per minute.
WaterSense EPA WaterSense-labeled showerheads are limited to 2.0 gpm and must also satisfy performance criteria.
California California applies a lower showerhead flow limit of 1.8 gpm at the prescribed test pressure.
Pressure Performance

Large Rain Heads Can Feel Softer at Lower Pressure

The same flow spread across a much larger face can produce a gentler sensation. If household pressure is modest, a very large head may feel softer than a smaller conventional spray pattern.

Wide Face More nozzles distribute available water across a broader area.
Low Pressure Lower pressure can reduce spray definition and nozzle performance.
Performance Data Review manufacturer specifications rather than selecting by diameter alone.
Installation

Seal the New Shower Head Correctly

Once fit, geometry and flow have been confirmed, follow the installation instructions supplied with the exact head, adapter and arm.

Remove the old shower head without twisting the wall arm.
Clean old sealing material from exposed threads.
Inspect the connection for thread damage.
Use the manufacturer-specified sealing method.
Start threaded connections by hand.
Protect decorative finishes when using tools.
Avoid excessive torque on swivel joints.
Pressure-test all exposed connections for leaks.
Installation Review

Rain Shower Retrofit Checklist

Item What to Verify Why It Matters
Connection New rain head engages smoothly with the arm. Reduces leakage and cross-threading risk.
Arm Reach Head projects far enough from the wall. Improves positioning and comfort.
Installed Height Spray face remains comfortably above users. Avoids cramped overhead placement.
Head Diameter Head clears wall and glass. Prevents physical interference.
Arm Stability Arm remains rigid under load. Important for heavier rainfall heads.
Flow Rate Rated flow meets efficiency targets. Controls water consumption.
Pressure Spray feels acceptable at actual pressure. Large heads may feel softer.
Seal No leakage appears during operation. Confirms a sound exposed connection.
When Retrofit Hardware Is Not Enough

When You Need a New Arm or Rough-In Change

Extension hardware works best when the concealed wall outlet is already secure and reasonably positioned. A badly located or loose rough-in should be corrected rather than hidden behind additional adapters.

Outlet Too Low A very low outlet may require a raised arm or plumbing relocation.
Loose Wall Fitting Repair concealed movement before supporting a heavy rainfall head.
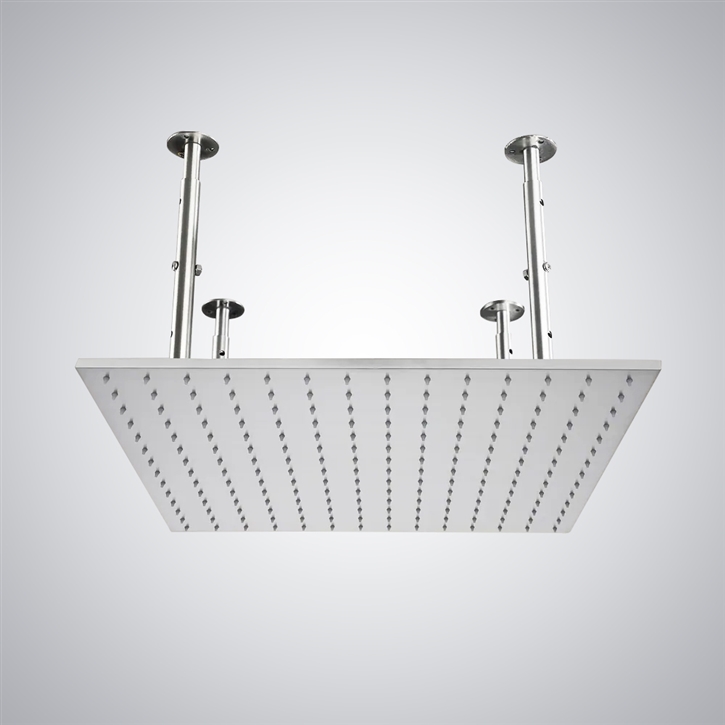
Ceiling Rain Head True ceiling-mounted rainfall heads normally require a dedicated overhead water connection.
Related Shower Guides

Continue Your Rain Shower Research

Strengthen this page with contextual internal links from related FontainBath articles covering rainfall sizing, shower-arm positioning and water-pressure performance.

Government & Technical References

Showerhead Flow & Efficiency References

U.S. EPA WaterSense — Showerheads Official WaterSense efficiency and showerhead performance guidance.
U.S. Department of Energy — Showerheads Federal showerhead standards and test-procedure information.
DOE — Faucets & Showerheads Federal water-efficiency guidance for plumbing fixtures.
California Housing & Community Development California building and water-efficiency resources.
Rain Shower FAQ

Frequently Asked Questions

Can I put a rain shower head on a normal shower arm?
Often yes. The arm needs a compatible connection, adequate wall projection, enough height and sufficient structural stability.
Do rain shower heads need a special shower arm?
Not always. A standard arm can work if it positions the rain head correctly. A longer or adjustable arm may be required for better reach.
How far should a rain shower head be from the wall?
There is no single universal distance. The spray face should fully clear the wall and place the rainfall pattern over the intended standing zone.
Will a rain shower head work with low water pressure?
It may, but very large heads can feel softer because the available water is distributed across more nozzles.
What is the WaterSense showerhead flow limit?
EPA WaterSense-labeled showerheads have a rated maximum flow of no more than 2.0 gallons per minute and must meet performance requirements.
Can I use an extension arm instead of moving plumbing?
Yes, when the existing outlet is secure and only needs additional reach or height.
Is a large rain head too heavy for a standard arm?
It depends on the head material, diameter, extension length and condition of the concealed wall fitting.
Do I need a plumber to replace the shower head?
A simple exposed replacement may not require concealed plumbing work. Professional repair is more appropriate if the arm is loose, leaking or must be relocated.
Can a rain shower head be ceiling mounted?
Yes, but a true ceiling-mounted rain head normally requires a dedicated ceiling water connection.
Final Recommendation

Measure the Shower Arm Before Buying the Rain Head

The connection is usually the easiest part of a rainfall shower retrofit. The more important question is whether the existing arm places the wider rain head in the correct position. Verify thread compatibility, arm reach, installed height, head diameter, stability, flow and pressure before ordering. When those conditions work, a rain shower head can often remain a trim-level upgrade rather than a full plumbing renovation.

Comments

Leave a Reply

Your email address will not be published. Required fields are marked *